Step Thirteen: How to Replace a Galaga PCB
If you feel at this point, You’d just rather send off your board for repairs then try this service and click here:
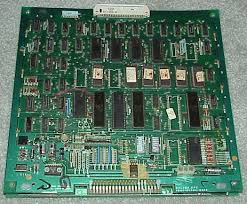
It is very simple to replace a Original Galaga PCB. Sort of like putting in a new DVD in the player. Please first refer to the manual for the proper way to remove your old PCB.
Location inside game
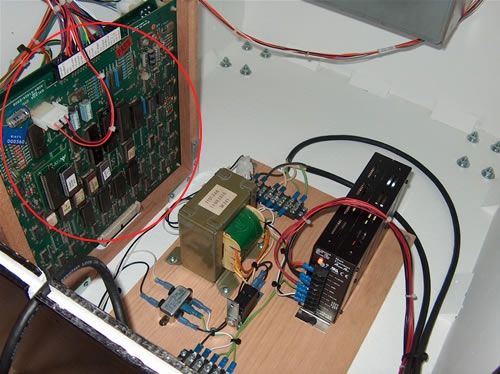
Step 1: Unplug game
Step 2: Disconnect wiring harness. (it simply slides up and off.)
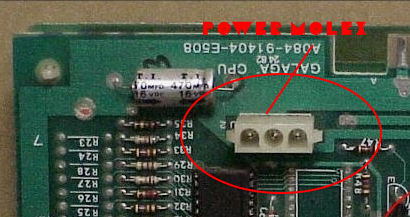
Step 3: Disconnect power molex connector of the pcb board
Step 4: Find the screws which hold the PCB to the wall and lose them.
Step 5: You Galaga pcb should then be free to come out.
Consult manual if you have any problems.
If you have purchased an original Galaga PCB it will be a simple matter of just reversing the directions above and plugging the wiring harness back to it. Please make sure the wiring harness orientation is correct with the parts side wires facing the parts side of the board and the solder side of the wiring harness facing the solder (back) side of the PCB. Your connector could be labeled parts side or solder side to help you with this.

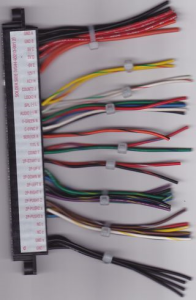
Harness will say parts side and then should face towards parts side when re-installing back on.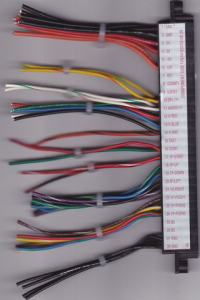